How to divide orchids to increase the seedling rate (Introduction to precautions for dividing orchid
Last Update :2024.12.01
Article Catalog
When dividing orchids, you must first pay attention to the time of division. Generally, the best time for division is after the flowering period of the plant, and the temperature should be between 12-30 degrees. Secondly, you need to stop watering for a few days before taking out the pot to allow the plant material to dry out and make it easier to take out the pot. After taking off the pot, you need to rinse the orchid seedlings with tap water and dry them, then comb the root system, find the suitable branch points and cut them off one by one with sterilized scissors. After dividing the plants, the wounds should be disinfected and sterilized, then potted and maintained carefully.

1. Time
Generally speaking, after two or three years of cultivating orchids, the pot will fill up. At this time, in order to increase the seedling rate and the number of breeding varieties, and promote the healthy growth of orchids, you can consider dividing the plants. Timely division also prevents one orchid from getting sick and infecting other healthy seedlings.
1. Time
Orchid division should be carried out when it is relatively warm, and the temperature is preferably between 12-30 degrees. In addition to considering temperature, the best time to divide orchids is generally at the end of the flowering period. Because the new bud growth points of the plant have not yet expanded and the flower buds will not grow again, this can minimize the chance of damaging the plant when dividing the plant.

2. Remove the pot
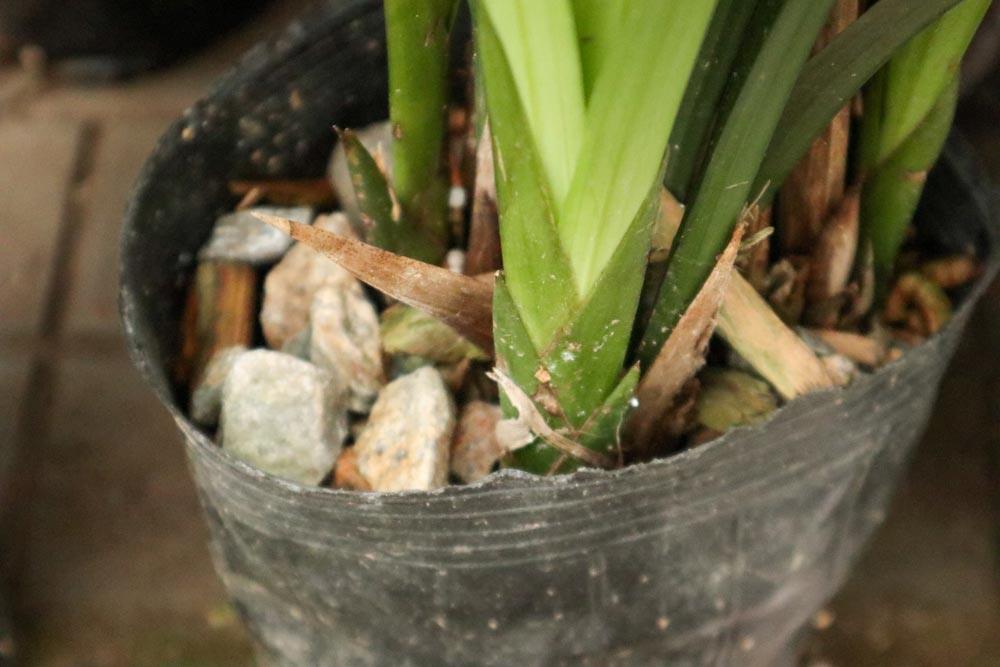
In Before removing orchids that need to be divided from their pots, you need to stop watering them for a few days to allow the plant material to become dry and loose, making it easier to remove them from the pots. When removing the pot, be careful not to violently remove the orchid, and do not pull the orchid out. You can directly pour out the planting material to remove the orchid to avoid damaging the orchid seedlings and buds.
3. Wash the roots
Rinse the removed orchid seedlings under tap water. After the substrate is completely washed away, place it in a ventilated and cool place to dry. Appropriate lighting is also possible, which can stimulate the dormant buds of orchid plants and promote later germination.

4. Branches
Cleaning For the root system of a good plant, take the second or third generation conjoined unit as a unit. Find the branching point and slowly cut it off with sharp scissors. Wait until the plant is completely separated before making the second cut. Note that pruning tools need to be sterilized before pruning. After the division is completed, cut off some old roots, rotten roots and diseased leaves, and then spray fungicides such as carbendazim on the wounds to prevent some germs from invading the plants from the wounds.
5. Planting
After treating the wounds of the orchids, they can be planted in pots. Pay attention to choosing flower pots with drainage holes and loose and breathable planting materials. It is best to sterilize them before use. When potting, do not fill all the planting material in. You can expose the wound by one or two centimeters to promote wound recovery. Wait until a week or two before completely covering with planting material.

2. Take off the basin
3. Wash the roots
4. Branches
5.Plant
- END -
Varieties of hydrangeas

Common varieties of hydrangea: Alpengluchin, the flower color is deep red or rose ...
How to grow periwinkle

Soil: Periwinkle is suitable for sandy soil with good drainage and ventilation. Mo...