"Illustration" Plastic bottles DIY watering and cutting tools for lazy people!
Last Update :2024.10.24
Article Catalog
Plastic bottle - watering artifact
Plastic bottle cutting tool, 100% rooting
Plastic bottle sowing artifact, super fast germination
After drinking mineral water and beverages, did you throw away the plastic bottles? What a waste! Did you know that plastic bottles are the best and most practical tools for growing flowers? With them, sowing, cutting, watering, and hydroponics are all so easy! If you don’t believe it, just follow Huahua and take a look!

Plastic bottle - watering artifact
Plastic bottle - a watering tool
Watering succulents is a troublesome thing. If you use a watering can to water it, it will accidentally water onto the leaves, causing heart rot and stem rot. How to solve this problem? What about this pain point? Simple! A plastic bottle will do it!
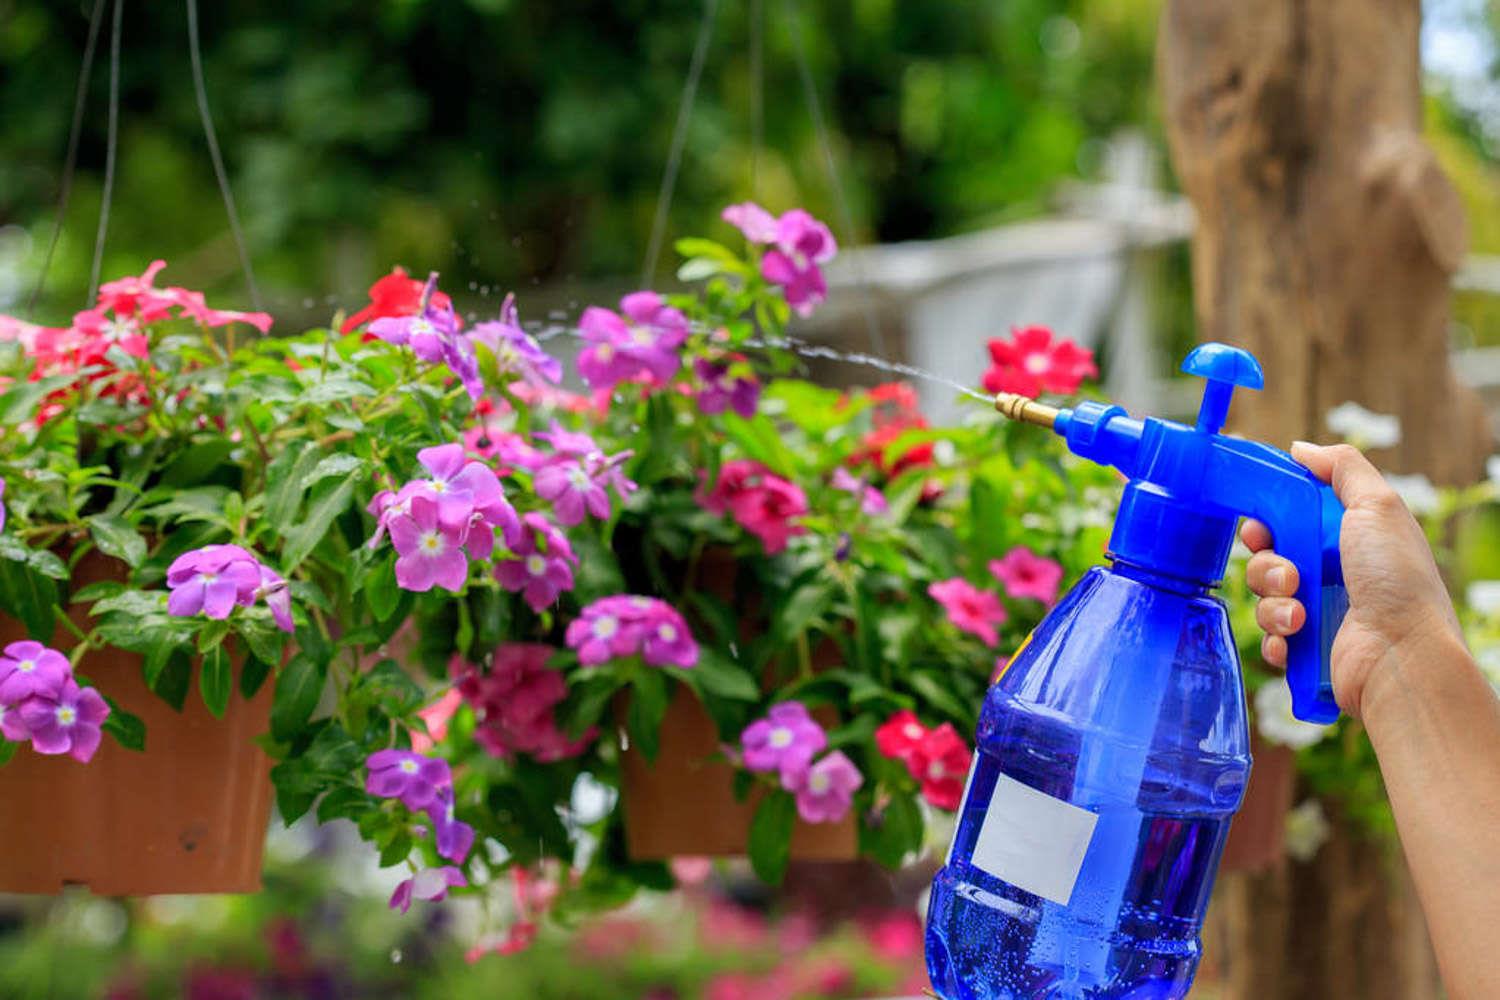
First step
Find a plastic bottle and keep the plastic cap on the top, don’t throw it away!
Step 2
Take off the plastic cap, hold the plastic cap with a tool such as pliers with one hand, and use a lighter to bake the outside of the plastic bottle over low heat with the other hand to make it softer.
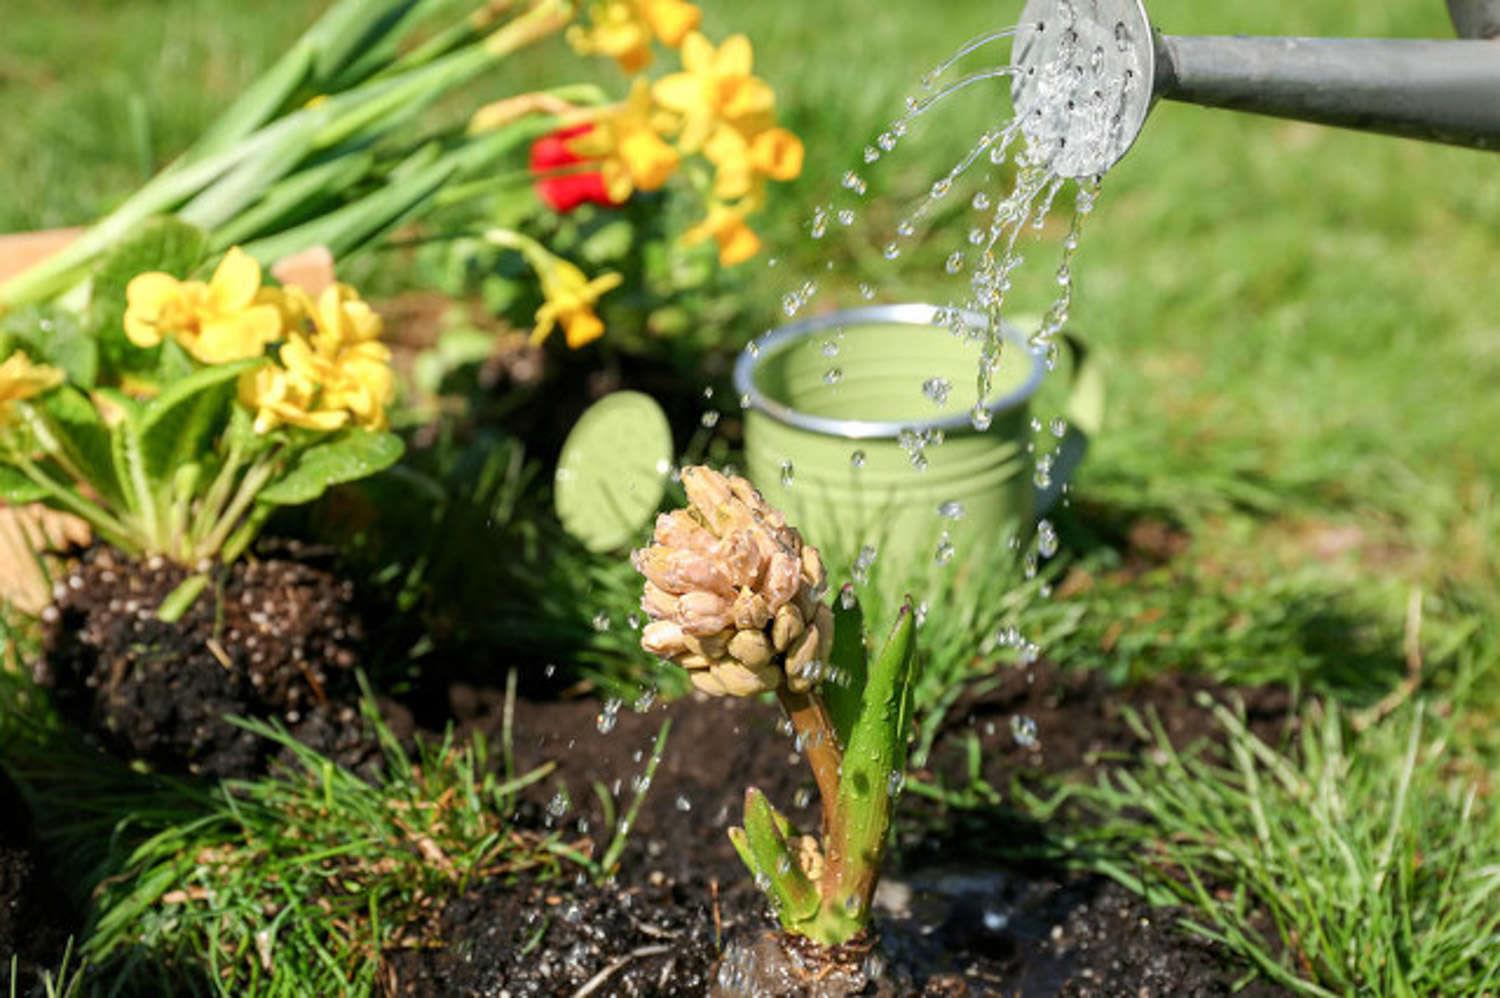
Step 3
As shown in the picture below, find a toothpick, place it in the middle of the plastic cover, and slowly poke it from the inside out. When you poke it, be steady and don't move it left or right until you poke out a nice little cone shape.
Step 4
To create a beautiful tapered shape, don't rush to take off the toothpick first. Place it in a ventilated place and let it dry naturally. Remove the toothpick after it is completely shaped.
Step 5
Now that the tapered hole is made, we can use scissors to cut off the tip at the top appropriately to allow water to flow out.
Step 6
The last step is to fill the plastic bottle with water and cover it with the pre-made lid, and that’s it! When watering, pinch the body of the plastic bottle and a small stream of water will flow out from the cap.

Step 7
This homemade watering bottle has a small flow of water that will not flow into the heart of the succulent leaves, causing rotten hearts, stems, and leaves. It is better to use than the purchased succulents that occupy the kettle.

Step 8
Of course, if you find the above operation troublesome, you can directly make a hole in the bottle cap and insert the straw into the hole.
Special attention should be paid to the fact that the size of the hole in the bottle cap must match the diameter of the straw. , otherwise it will leak.
Plastic bottle cutting artifact, 100% rooting
Huahua has introduced a lot of plastic bottle cuttings to you, but the method that Huahua taught you today has a higher rooting rate than other methods. Even higher~ Let’s take gardenia as an example to give you a detailed explanation.

Step 1
Develop the habit of collecting plastic bottles, whether plastic bottles or beverage bottles, don’t throw them away!

Step 2
Cut a semi-lignified branch of gardenia, which is best for half-year to annual growth. Use a wallpaper knife to cut the bottom of the branch at a 45-degree angle to make the cut appear a horseshoe shape, which increases the contact area with water and makes it easier for roots to take root.

Step 3
Find a piece of foam board and cut a circle according to the diameter of the bottom of the foam.

Step 4
Drill a small hole in the middle of the foam, then remove the bottom leaves of the gardenia branches and insert them into the small hole in the foam board.

Step 5
Place the plastic bottle horizontally, and cut it with a wallpaper cutter at 1/3 of the plastic bottle from top to bottom. Be careful not to completely cut off the upper 1/3, leaving a little bit so that the upper and lower parts can be connected. Together, not broken.

Step 6
Pour water into the bottom of the plastic bottle until the water level occupies about 3/4 of the bottom half of the plastic bottle.

Step 7
Put the foam with gardenia branches inserted into the lower part of the plastic bottle, above the water surface. Make sure the branches below the foam are exposed to moisture.

Step 8
Put the top half of the plastic bottle cap back on and wrap the cutout with tape. Remove the cap from the plastic bottle.

Step 9
Place the prepared cutting device in a well-lit and ventilated place. In about 2-3 weeks, the branches will grow white root systems, and there is no need to add water during this period.

Plastic bottle sowing artifact, super fast germination
It’s autumn! It’s the planting season again. Are flower lovers going around buying seedling pots and seedling blocks? In fact, you don’t have to spend that wasted money, your plastic bottles are super useful sowing tools!
Step 1
Prepare a plastic bottle, as shown in the picture, horizontally, top, middle and bottom. Cut it into three parts evenly and put the middle one aside for now.

Step 2
Fill the bottom plastic bottle with soil, water it thoroughly, and then sprinkle the seeds,

Step 3
Seal the incision with plastic wrap, keep it moisturized and warm, wait 1-3 weeks, and the seeds will germinate!

Step 4
After all the seedlings have sprouted, you can tear off the plastic wrap! But the seedlings are too weak to withstand strong winds and low temperatures. At this time, the top 1/3 of the plastic bottle we cut can be used! As shown in the picture, just cover it like a hat, which not only increases the humidity, but also protects the seedlings.

Plastic bottle cutting tool, 100% rooting
Plastic bottle sowing artifact, super fast germination
- END -
Why can’t the rhododendron seedlings survive? When can they see the sun?
When planting rhododendron seedlings, it is not easy to survive. This may be becau...
How to grow radish and what you should pay attention to

Soil: When planting radishes, you need to use looser and deeper soil. Moisture: Wa...